
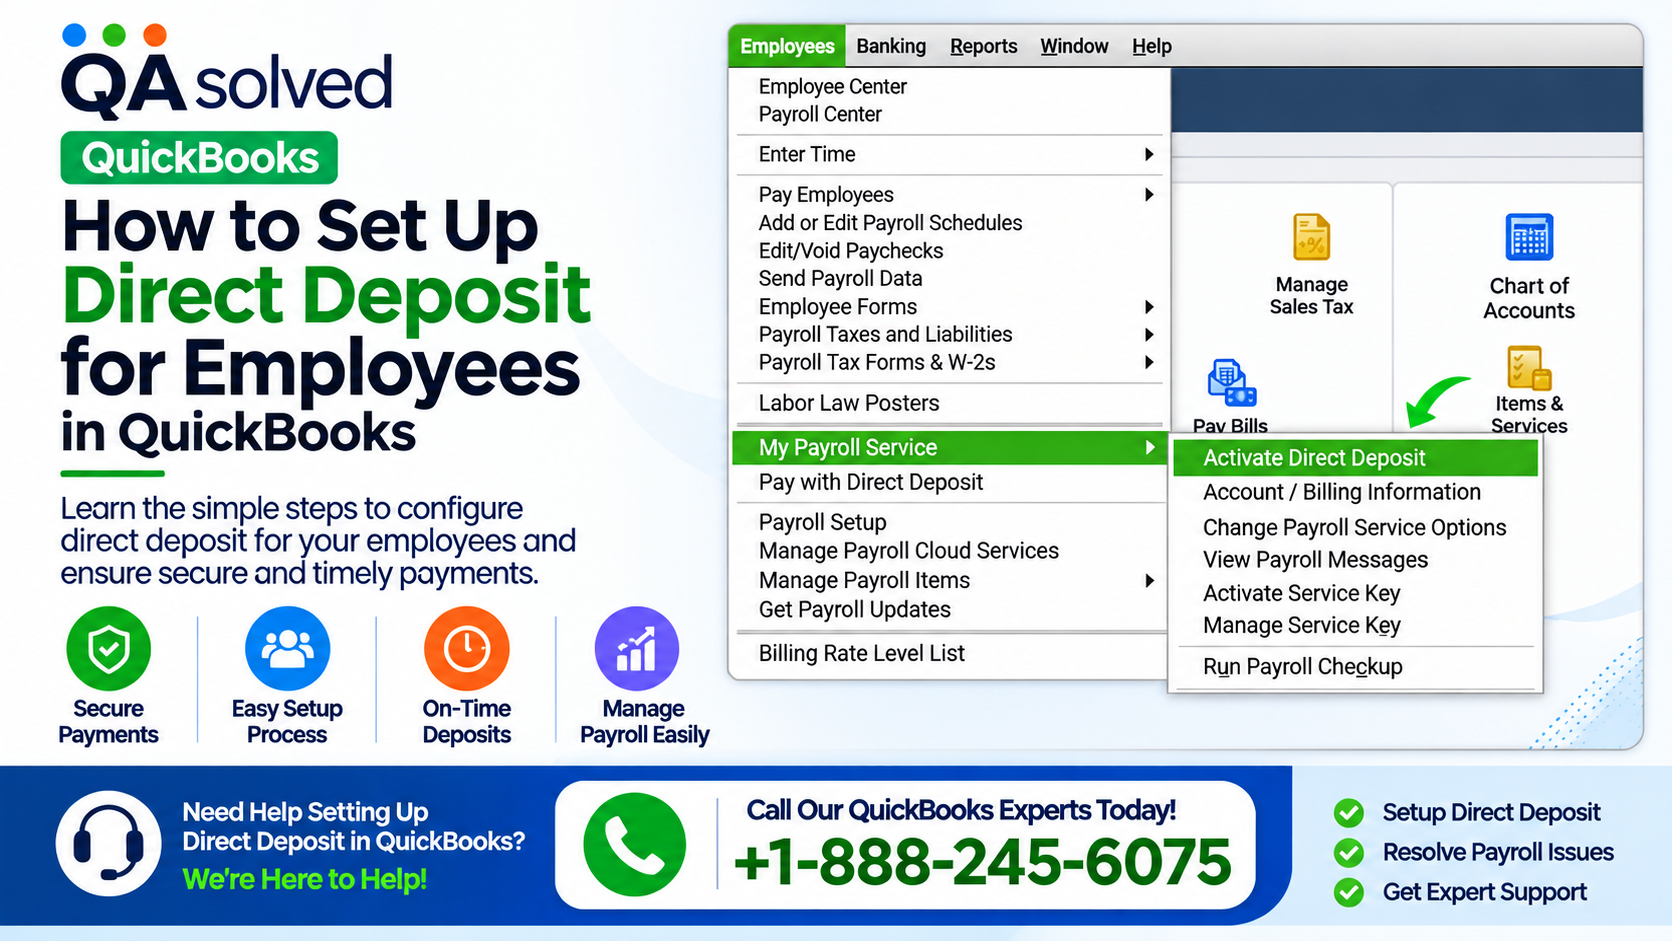
QuickBooks Direct Deposit helps businesses pay employees electronically without preparing paper checks for every payday. Once you complete the setup, you can send employee wages directly to their checking or savings accounts. This process saves time, reduces paperwork, and makes payroll management easier.
Whether you use QuickBooks Online Payroll, Intuit QuickBooks Workforce, or QuickBooks Desktop Payroll, you need to configure your company payroll settings and collect the correct banking information before making direct deposit payments.
This guide explains how to set up QuickBooks Direct Deposit, collect employee authorization, enter bank details, and manage employee payment preferences. Follow the instructions for your payroll service to complete the process correctly.
What Is QuickBooks Direct Deposit?
QuickBooks Direct Deposit is a payroll feature that allows employers to transfer employee wages electronically into their bank accounts. Instead of printing and distributing physical checks, businesses can use direct deposit to pay employees through their payroll system.
Employees can generally receive their wages in one or two bank accounts, depending on the options supported by their payroll service. Some configurations also allow employees to receive part of their wages through direct deposit and the remaining balance by check.
QuickBooks offers different payroll solutions, so the setup process may vary depending on your subscription.
Important: If you want to pay contractors, you can use the applicable Contractor Payments service. Intuit QuickBooks Workforce may also support payments to employees and contractors, depending on your subscription and configuration.
Requirements for Setting Up QuickBooks Direct Deposit
Before enabling direct deposit, gather the information required to verify your business and connect your bank account. Having these details ready can help prevent delays during setup.
1. A US Bank Account
You must have a US bank account that supports Automated Clearing House (ACH) transactions. ACH is the electronic payment network commonly used to transfer payroll funds between bank accounts.
Confirm that your bank account is eligible for payroll direct deposit before continuing.
2. Business Information
Prepare the following details about your company:
- Legal business name
- Business address
- Employer Identification Number (EIN)
Enter your information accurately to help complete the company verification process.
3. Principal Officer Information
You may need to provide information about your company’s principal officer, including:
- Full legal name
- Residential address
- Social Security number
- Date of birth
Keep these details available when completing the direct deposit application.
4. Company Banking Details
You will also need your company’s bank routing number and account number or your online banking credentials, depending on the verification method offered by QuickBooks.
Use the correct business bank account and follow the security instructions provided during setup.
Step 1: Set Up Direct Deposit for Your Company
The first step is to enable direct deposit for your company payroll. You must complete this process before adding employee bank information and issuing payments.
The exact steps depend on your QuickBooks payroll subscription.
- Sign in to your QuickBooks account.
- Open your payroll settings or the direct deposit setup section.
- Enter the requested business information.
- Provide the principal officer’s details.
- Connect or verify your eligible US bank account.
- Complete any identity verification or authorization steps requested by QuickBooks.
- Review your information and submit the setup request.
QuickBooks may require additional verification before activating direct deposit. Follow any instructions displayed in your account and wait for confirmation that the service is ready.
If you are unsure which payroll service you use, check your QuickBooks subscription or payroll settings before proceeding.
Step 2: Get an Employee Direct Deposit Authorization Form
After setting up your company account, collect the banking information required to pay each employee electronically.
You can obtain this information through an employee direct deposit authorization form or a voided check. The method you use depends on your payroll service and its requirements.
For Intuit QuickBooks Workforce
Employees generally need to complete, sign, and date the direct deposit authorization form. They should also provide a voided check when required by the applicable process.
A voided check helps verify the employee’s bank account and routing numbers. It is different from a deposit slip, so do not substitute a deposit slip when a voided check is specifically requested.
To locate the employee bank verification form in QuickBooks, follow these steps:
- Sign in to your QuickBooks account.
- Select All Apps, then open Payroll.
- Select Payroll Taxes.
- Open Filings, then select All Filings Resources.
- Select Setup Forms, then choose Employee.
- Find Employee Bank Verification and select View.
Use the form according to the instructions provided by QuickBooks. Keep completed authorization documents in your records and protect the employee’s personal and financial information.
Employees who have access to the QuickBooks Workforce web portal may also be able to enter their own banking information. Available options depend on the service and account configuration.
For QuickBooks Desktop Payroll
If you use QuickBooks Desktop Payroll, request a voided check or the required bank details directly from the employee.
Collect the following information:
- Bank name
- Bank routing number
- Bank account number
- Bank account type
Verify the information before entering it into QuickBooks. Incorrect account details can delay payments or cause transactions to be rejected.
Step 3: Add Direct Deposit Information for Employees
Once your company direct deposit setup is complete and you have the necessary employee banking information, add the details to the employee’s payroll profile.
The instructions differ between QuickBooks Workforce and QuickBooks Desktop Payroll.
How to Add Direct Deposit in QuickBooks Workforce
Follow these steps to enter an employee’s banking information manually:
- Sign in to QuickBooks.
- Select All Apps, then choose Team and Employees.
- Select the employee you want to update.
- Open Job & Pay.
- Find the Payment Method section and select Add or Edit.
- Open the payment method dropdown and select Direct Deposit.
- Choose the payment arrangement that suits the employee.
- Enter the employee’s bank routing number and account number.
- Review the information carefully.
- Select Save.
QuickBooks may offer the following direct deposit arrangements:
- Direct deposit to one account: Sends the employee’s paycheck to a single bank account.
- Direct deposit to two accounts: Splits the paycheck between two bank accounts by a specified dollar amount or percentage.
- Direct deposit with the balance as a check: Deposits the designated portion electronically and pays the remaining balance by check, where supported.
Choose the appropriate arrangement based on the employee’s instructions and the options available in your payroll service.
How to Set Up Direct Deposit in QuickBooks Desktop Payroll
If you use QuickBooks Desktop Payroll, follow these steps:
- Open QuickBooks Desktop.
- Select Employees, then choose Employee Center.
- Find and select the employee’s name.
- Open the Payroll Info tab.
- Select Direct Deposit.
- Check the box labeled Use Direct Deposit for [employee’s name].
- Choose whether to deposit the paycheck into one account or two accounts.
- Enter the employee’s bank name, routing number, account number, and account type.
- If you select two accounts, enter the amount or percentage for the first account. QuickBooks will allocate the remaining amount to the second account according to the selected setup.
- Select OK to save your changes.
- Enter your direct deposit PIN when prompted.
Review the employee’s banking details before saving the changes. Make sure the selected payment method matches the employee’s authorization.
Step 4: Review the Employee’s Direct Deposit Settings
After entering the bank information, check the employee’s payroll profile to confirm that direct deposit is enabled and the payment arrangement is correct.
Verify the following details:
- The employee’s bank routing number is accurate.
- The account number matches the information provided by the employee.
- The selected account type is correct.
- The paycheck allocation matches the employee’s instructions.
- Direct deposit is enabled for the employee.
You should also confirm that your company’s direct deposit service is active and that any required verification has been completed.
If QuickBooks displays a pending verification message, follow the instructions in your account before assuming that payroll payments are ready.
Managing Employees in Intuit Enterprise Suite
Businesses using Intuit Enterprise Suite with multiple companies can manage employees through a consolidated employee dashboard.
To access this view:
- Open the Company Switcher dropdown.
- Select Consolidated View.
- Go to All Apps, then select Payroll.
- Open Employees.
From the consolidated employee dashboard, you can search for a specific employee, filter employees by company, customize the displayed information, and update employee details.
This feature can simplify employee management when your business operates multiple companies. However, confirm the relevant company and employee record before making payroll changes.
What Happens After Setting Up QuickBooks Direct Deposit?
After you complete the setup, QuickBooks can process eligible employee payments through direct deposit according to your payroll schedule and the service’s processing requirements.
However, saving an employee’s bank information does not necessarily mean that the next paycheck will be deposited automatically. Your company must have an active direct deposit service, and payroll must be processed and submitted within the required time frame.
Check your payroll dashboard for the payment status and any pending actions. Pay attention to payroll deadlines, bank processing times, and any notifications from QuickBooks.
If you want to pay contractors electronically, review the setup instructions for your applicable contractor payment service. The available features and enrollment requirements may differ from employee payroll.
Final Thoughts
Setting up QuickBooks Direct Deposit can make payroll easier by allowing businesses to pay employees electronically instead of distributing paper checks. To complete the process, prepare your business and bank information, activate company direct deposit, collect employee authorization, and enter the correct banking details.
Whether you use QuickBooks Workforce or QuickBooks Desktop Payroll, carefully review the employee’s payment settings before processing payroll. Keeping banking information accurate and following your payroll service’s verification requirements can help reduce payment errors and delays.
Once everything is configured, monitor your payroll dashboard to confirm that payments are submitted successfully and employees receive their wages according to your payroll schedule.
Frequently Asked Questions
1. How do I set up direct deposit in QuickBooks?
To set up direct deposit in QuickBooks, sign in to your account, open the payroll settings, and complete the company direct deposit setup. Provide the required business and bank information, verify your account, and follow the activation instructions. Once the service is active, add each employee’s authorized banking details to their payroll profile.
2. What information is required to enable QuickBooks Direct Deposit?
You generally need a US bank account that supports ACH transactions, your company’s legal name and address, your Employer Identification Number (EIN), and information about the principal officer. You may also need your company’s bank routing number, account number, and additional verification details.
3. How do I add an employee’s bank account in QuickBooks Online Payroll?
To add an employee’s bank account, go to All Apps > Team > Employees and select the employee. Open Job & Pay, find the Payment Method section, and select Add or Edit. Choose Direct Deposit, enter the employee’s authorized banking information, select the appropriate payment arrangement, and save your changes.
4. Can I set up direct deposit in QuickBooks Desktop Payroll?
Yes, QuickBooks Desktop Payroll supports employee direct deposit when the service is available and properly configured. Open Employees > Employee Center, select the employee, and open the Payroll Info tab. Select Direct Deposit, enable the option for that employee, enter the required banking details, and save the settings using your direct deposit PIN when prompted.
5. Can employees enter their own direct deposit information in QuickBooks?
Yes, employees with access to the appropriate QuickBooks Workforce features may be able to enter or update their own banking information. The available options depend on the payroll service and account configuration. Employers should follow the applicable authorization and verification procedures before processing payments.
6. Can QuickBooks Direct Deposit send a paycheck to two bank accounts?
Yes, certain QuickBooks payroll services support splitting an employee’s paycheck between two bank accounts. Depending on the available options, you can allocate a specified dollar amount or percentage to the first account and send the remaining balance to the second account. Confirm the employee’s instructions before saving the payment arrangement.
7. How long does QuickBooks Direct Deposit take to process?
The processing time depends on your payroll service, submission time, payroll schedule, and bank processing requirements. You should submit payroll before the applicable direct deposit deadline to allow enough time for processing. Check your QuickBooks payroll dashboard for the expected payment date and any pending issues.
8. Why is QuickBooks Direct Deposit not working?
QuickBooks Direct Deposit may fail because of incorrect bank details, incomplete account verification, an inactive payroll service, missed processing deadlines, or other payroll-related issues. Review your company direct deposit status, verify the employee’s banking information, and check for notifications or errors in QuickBooks. Follow the recommended troubleshooting steps before submitting payroll again.
9. Do I need a voided check to set up employee direct deposit in QuickBooks?
A voided check can help verify an employee’s bank routing and account numbers. Some setup procedures require a voided check or an employee authorization form, while other supported methods may allow employees to enter their banking information electronically. Follow the requirements for your specific QuickBooks payroll service.
10. Can I use QuickBooks Direct Deposit to pay contractors?
Yes, eligible QuickBooks services support electronic payments to contractors. However, contractor payments may require a separate service, such as Contractor Payments, depending on your subscription and setup. Review the available contractor payment options and complete the required enrollment steps before sending payments.


