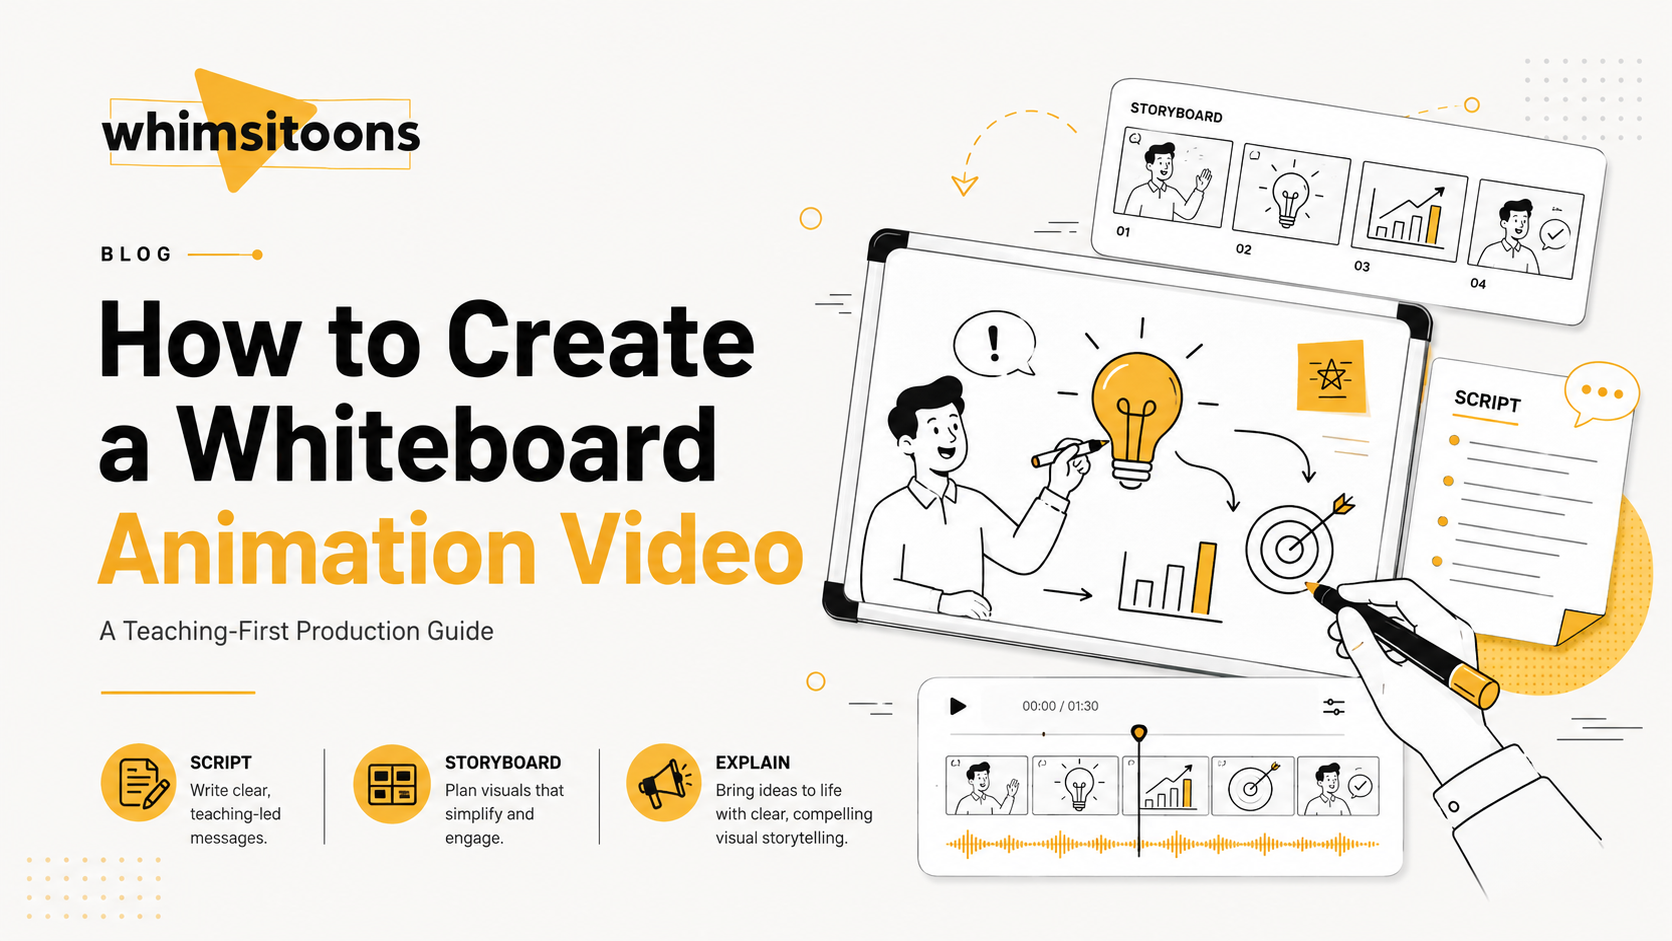
A whiteboard video works best when it feels less like an advertisement and more like a smart explanation unfolding in front of the viewer. Instead of starting with drawing styles or software, start with the lesson: what should the audience understand by the end? That teaching-first mindset is the most reliable way to think about how to create a whiteboard animation video that is clear, memorable, and useful.
This guide from Whimsitoons focuses on the decisions that shape the final result before animation begins, including message design, scripting, storyboarding, pacing, narration, and visual consistency.
Start With One Learning Objective
Before writing a script, define one main outcome. A weak objective might be “explain our company.” A stronger objective would be “help first-time customers understand our three-step onboarding process.”
A useful rule is to complete this sentence:
“After watching this video, the viewer should be able to ______.”
If you cannot complete it clearly, the concept is probably still too broad. For a software product, the objective may be to show how a user moves from signing up to completing a first task. For a financial service, it could be explaining a complicated approval process in simple stages.
How to Create a Whiteboard Animation Video Around a Strong Script
The script is the real foundation. Drawings should support the message, not rescue a confusing one.
When planning how to create a whiteboard animation video, write for the ear rather than the page. Spoken language should sound natural and direct. Short sentences are easier to follow when the viewer is also watching illustrations appear on screen.
A practical structure is:
- Introduce the problem.
- Explain why it matters.
- Present the solution.
- Break the idea into logical steps.
- End with one clear action.
For example, instead of saying, “Our organization transforms operational efficiency,” begin with a real situation: “Your team receives dozens of requests every day, but no one knows which one should be handled first.” That gives the animator something meaningful to visualize.
Turn Every Sentence Into a Visual Decision
Once the script is stable, convert it into a storyboard. Each scene should answer two questions: what is being said, and what should appear while it is being said?
Suppose the narration says, “A customer submits a request, the system assigns it to the right team, and the manager tracks progress.” The scene could show a customer icon, an arrow toward a platform, department icons, and a final dashboard symbol.
White animation is most effective when movement has a reason. A new icon, line, label, or character should help the viewer follow the explanation rather than simply decorate the frame.
Build a Consistent Visual Language
Before production, define a small visual system covering line thickness, character style, icon treatment, accent colors, typography, and transitions.
Traditional whiteboard animation often uses black drawings on a white background, but modern versions can introduce limited brand colors, marker textures, highlighted words, or simple interface elements. Keep the palette controlled so the video still feels focused.
If a company is also working on custom logo design services, the animation team should reference the same identity system. Logo proportions, colors, typography, and graphic personality should feel connected across brand assets.
Match Voiceover to Drawing Speed
Narration and drawing should be planned together. A sentence that takes four seconds to speak should not require twelve seconds of drawing.
Record a temporary voice track before final animation. Then create a rough animatic by placing storyboard frames against the narration. This makes it easier to spot scenes that feel rushed, crowded, or unnecessarily long.
A useful production principle is that timing problems are often communication problems. If one scene needs too much time, the script or visual concept may be trying to explain too much at once.
Use the “One Scene, One Job” Rule
Give every scene one purpose: introduce a problem, define a term, compare options, show a process step, demonstrate a result, or direct the viewer toward an action.
This rule is especially helpful when learning how to create a whiteboard animation video for technical or educational topics. Complex information becomes easier to understand when it is separated into small visual units.
For example, a healthcare company explaining an appointment process should not show scheduling, verification, consultation, payment, and follow-up in one crowded drawing. Give each step enough space to be understood.
Add Motion Without Creating Clutter
The drawing-hand effect is recognizable, but it should not dominate the experience. Use movement to direct attention.
A hand can reveal an illustration, an arrow can connect ideas, and a small camera move can shift focus. White animation does not mean every object must be drawn in real time. Some elements can appear, highlight, or transform if that improves pacing.
The priority is comprehension, not motion for its own sake.
Test the Video in Two Ways
One practical quality-control method is to watch the animation with the sound muted. Can you still follow the main sequence? Are the important ideas visually distinct?
Then listen without watching. The narration should still make sense by itself.
When both layers work independently and reinforce each other together, the video is more likely to feel coherent. This is also the right stage to check branding. If custom logo design services or a recent identity update have changed the visual direction, use the latest approved assets.
End With One Specific Call to Action
Do not let the video simply stop after the explanation. The final scene should tell the viewer what to do next.
That might be booking a consultation, starting a trial, visiting a service page, or downloading a guide. Keep the action singular. “Book a discovery call” is usually stronger than presenting several competing links and contact options at once.
Conclusion
Understanding how to create a whiteboard animation video is less about mastering a drawing effect and more about designing a clear learning experience. Start with one objective, write a conversational script, convert each idea into a purposeful visual, control the pacing, and make sure narration and imagery support each other.
The strongest process gives strategy equal importance to illustration. This framework can help a team prepare a better creative brief before working with Whimsitoons or another animation partner.
For Whimsitoons, the broader opportunity is to use whiteboard storytelling as a structured way to make complex messages easier for audiences to follow.