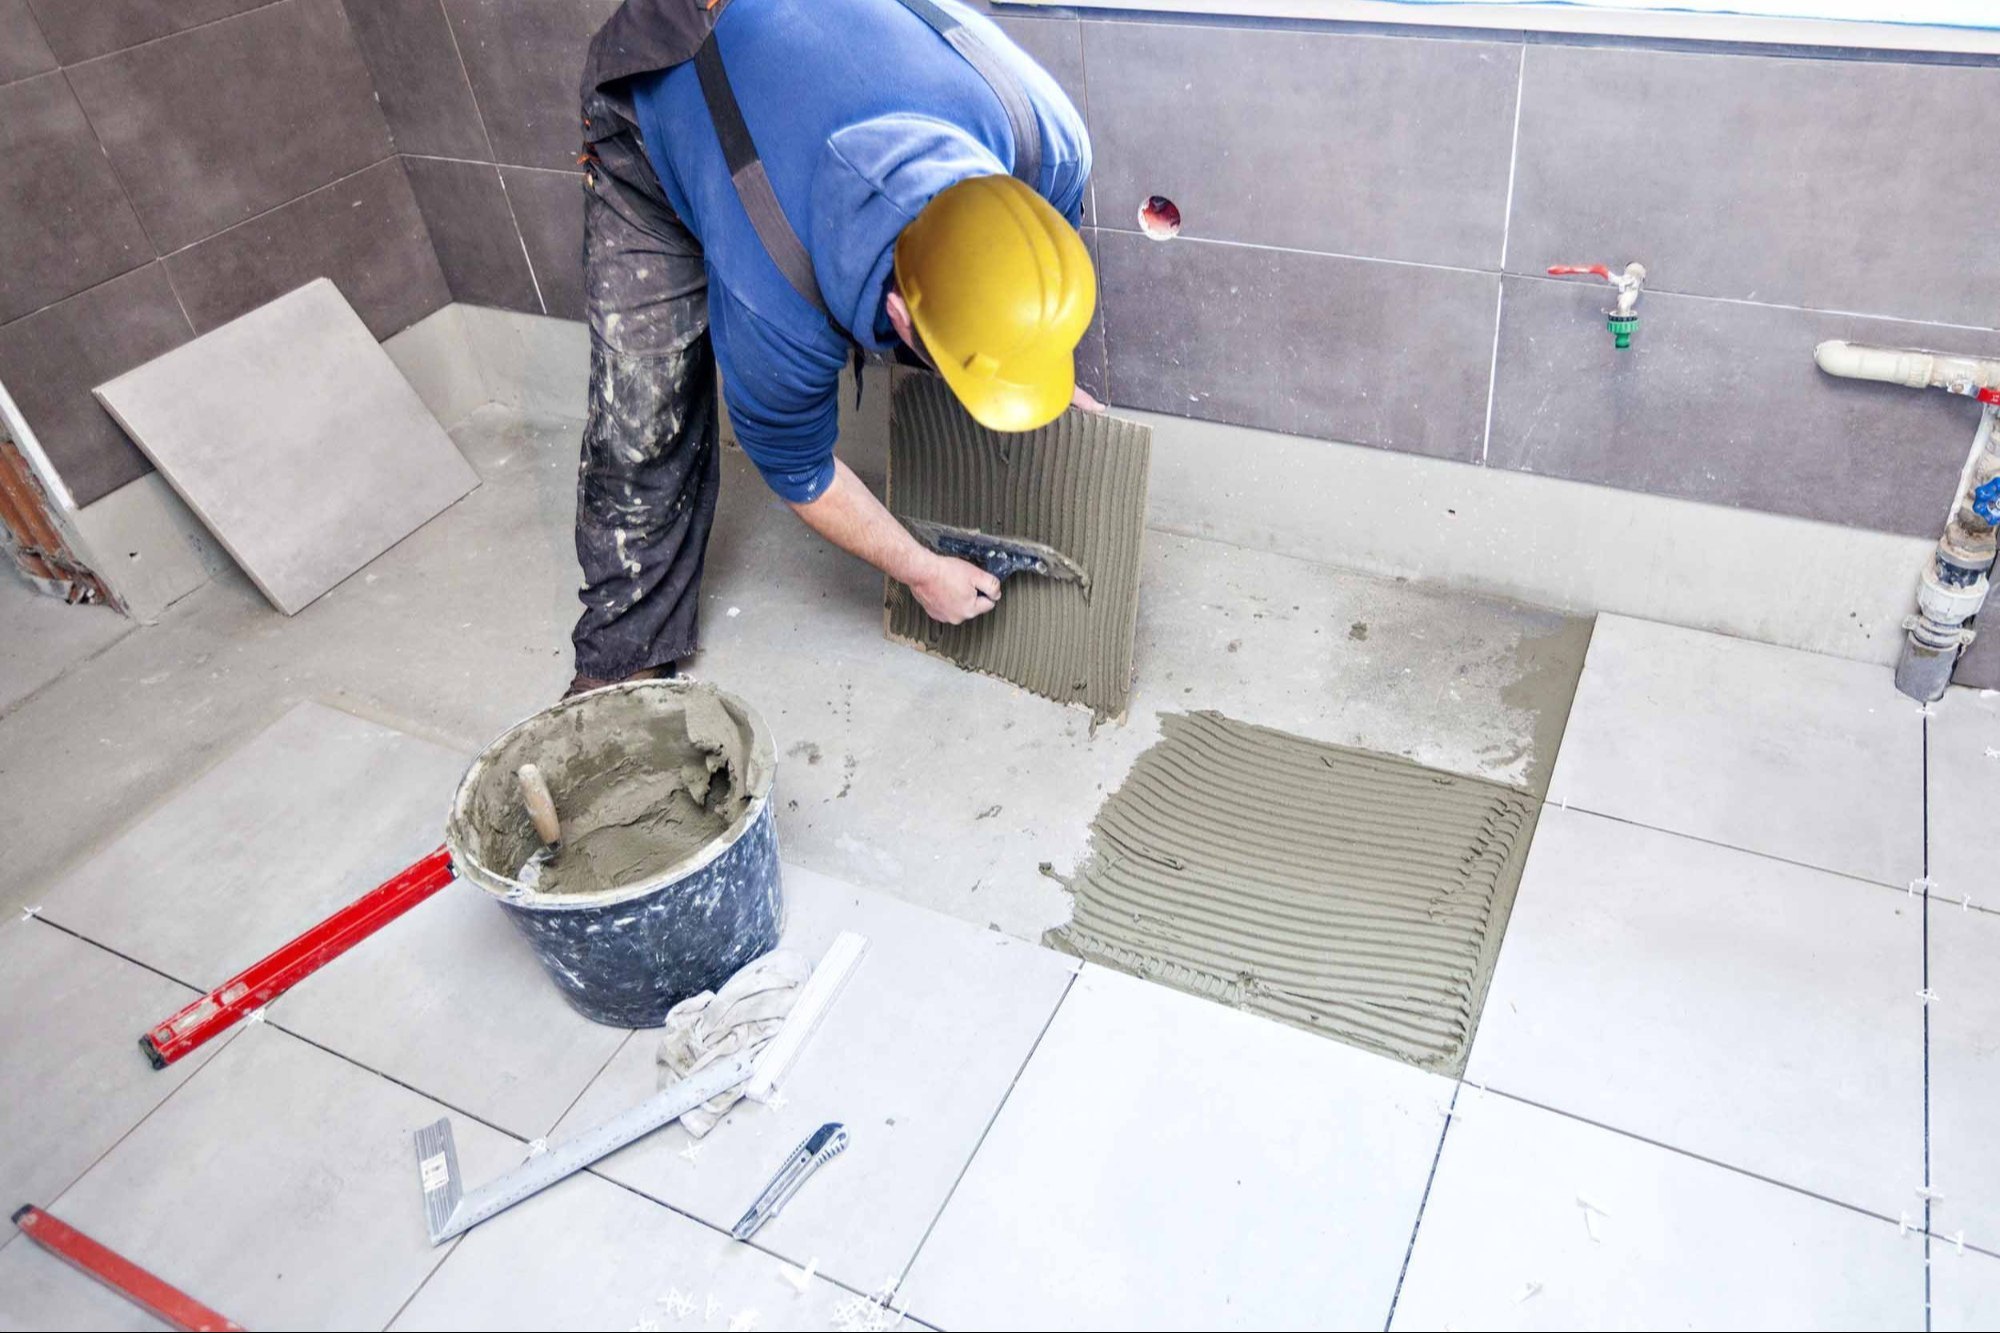
Tile installation adds beauty, durability, and value to any property. Many homeowners wonder how much time the process requires before planning their renovation. Choosing a Bathroom Tile Installation Service can help reduce delays through proper planning and skilled workmanship. Understanding each phase of the project makes it easier to prepare your space, set realistic expectations, and avoid unnecessary interruptions during the installation process.
Factors That Affect Tile Installation Time
Every tile installation project has a different schedule because several factors influence the overall timeline. Room size is one of the biggest considerations, as larger areas naturally require more preparation and installation work. Tile material also matters because natural stone often requires extra handling compared to ceramic or porcelain. Surface condition, pattern complexity, and drying times for adhesives and grout all contribute to the total project length. Proper planning helps keep the work organized and reduces unexpected delays.
Typical Timeline for a Standard Tile Installation
Most standard residential tile installations take between two and five days to complete. Smaller spaces such as bathrooms often require less time than kitchens or large living areas. The first day usually focuses on preparation and removing existing flooring if needed. Tile placement may take another day or two depending on the layout. Grouting, cleaning, and final inspection are completed after the adhesive has properly cured. Allowing sufficient drying time ensures a durable and long-lasting finished surface.
Step-by-Step Tile Installation Process
Successful tile installation follows a clear sequence that helps produce accurate and lasting results. Contractors begin by inspecting the floor or wall to identify uneven areas or moisture concerns. The surface is cleaned, repaired, and leveled before any tiles are placed. Adhesive is applied carefully, and tiles are installed according to the planned layout. Grout is added after the adhesive cures, followed by cleaning and sealing where required. Every step supports a professional finish that performs well over time.
Preparation Plays a Major Role
Preparation often takes longer than homeowners expect, but it is one of the most important parts of the project. Old flooring may need removal, damaged surfaces require repair, and measurements must be verified carefully. Moisture barriers or underlayment may also be installed depending on the location. Careful preparation creates a stable foundation that helps prevent loose tiles, cracks, and uneven surfaces. Spending adequate time on this stage reduces the likelihood of future repairs and improves overall installation quality.
Drying and Curing Should Never Be Rushed
Adhesives and grout require proper curing time to achieve maximum strength. Walking on newly installed tiles too soon can shift their position and weaken the bond beneath them. Most installations require at least twenty-four hours before light foot traffic, although some materials need additional time. Grout may also require sealing after curing for extra protection against moisture and stains. Following these recommendations helps maintain the appearance and durability of the completed tile installation for many years.
Ways to Keep Your Tile Project on Schedule
Several practical steps help reduce delays and improve project efficiency.
- Choose tiles before installation begins.
- Confirm measurements and material quantities early.
- Clear furniture and personal items from the work area.
- Repair damaged subfloors before installation starts.
- Schedule the project during suitable weather for proper drying.
- Communicate clearly with the installer throughout the project.
- Avoid walking on freshly installed tiles until curing is complete.
These simple actions help keep the installation moving smoothly from start to finish without unnecessary interruptions.
Choosing the Right Tile Installation Professional
Experienced tile installers bring valuable knowledge that improves both efficiency and quality. Skilled professionals understand proper surface preparation, accurate tile spacing, and correct adhesive selection for different environments. They also identify potential issues before they become costly problems. Checking previous work, reading customer reviews, and discussing project expectations help homeowners choose a reliable contractor. Good communication throughout the project keeps everyone informed about progress, timelines, and any adjustments that may become necessary during installation.
Conclusion
Tile installation timelines vary according to room size, tile type, surface condition, and preparation requirements. Most residential projects can be completed within several days when planned carefully and completed by experienced professionals. Allowing enough time for preparation, installation, curing, and final inspection helps produce attractive and durable results. Understanding the complete process gives homeowners confidence while planning their renovation and helps ensure the finished tile surface remains beautiful, strong, and reliable for many years.
FAQs
How long does a bathroom tile installation usually take?
Most bathroom tile installations take two to five days, depending on the room size, tile type, and preparation work required.
What can delay a tile installation project?
Uneven surfaces, moisture problems, complex tile patterns, and extended drying times are common reasons for project delays.
Can I walk on newly installed tiles immediately?
No. Most installations require at least 24 hours before light foot traffic, although some materials may require a longer curing period.
Does tile size affect installation time?
Yes. Larger tiles may install faster in open spaces, while smaller or mosaic tiles generally require more time and precision.
Why is surface preparation important before tile installation?
Proper preparation creates a stable base that helps prevent cracked tiles, loose flooring, uneven surfaces, and future repair issues.