
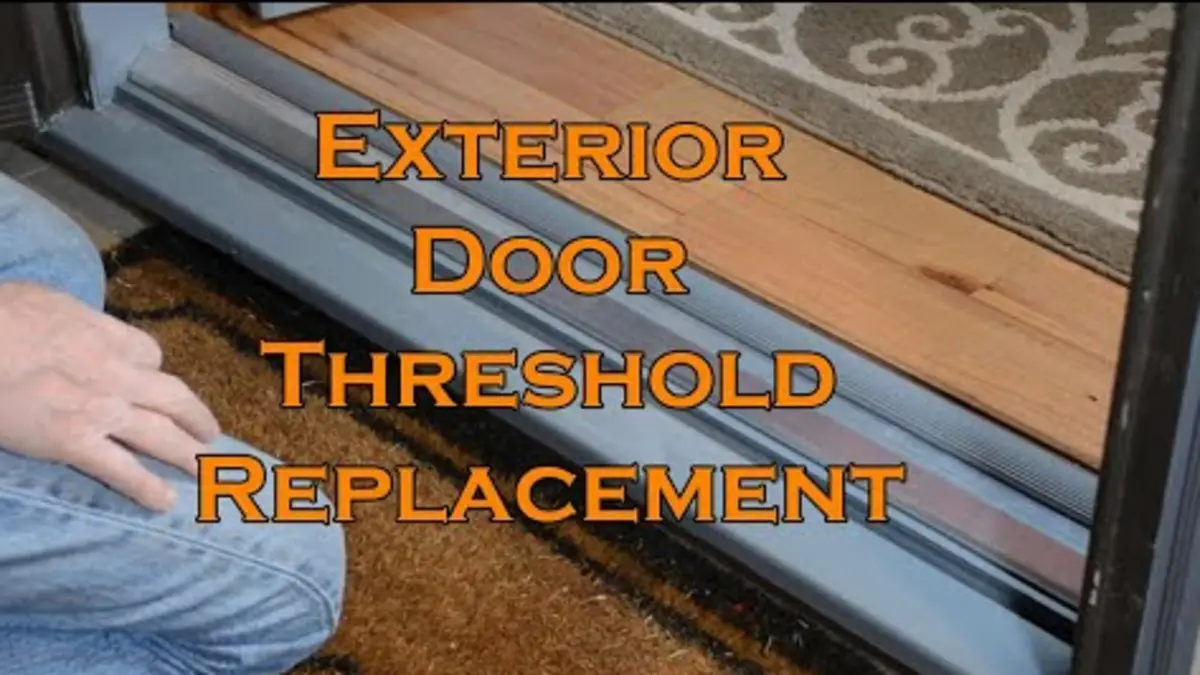
Installing an Exterior Door without a threshold is unusual but not impossible. It requires careful planning, the right materials, and a clear understanding of how to protect the opening from water, air, and structural stress. In many projects, builders choose a threshold because it creates a clean transition and adds weather protection. When a design calls for a flush entry or a seamless indoor-outdoor connection, you need to approach the installation with more intention.
Below is a practical, professional guide for handling this type of installation, along with considerations that help you choose the right products and avoid common failures.
Why Install an Exterior Door Without a Threshold
There are a few situations where skipping a threshold makes sense. Architects sometimes want a barrier-free entry that aligns the exterior surface with the interior floor. Some commercial spaces want a smooth approach for accessibility. In residential projects, homeowners may want a clean link between a patio and a living area.
Removing the threshold changes the job in a few important ways. You lose the factory-designed transition that blocks rain and drafts. You also remove the piece that often absorbs the initial impact from foot traffic. The installation needs to replace those functions with other materials and details.
Planning the Opening
Start with a sound subfloor or concrete slab. Any slope, crack, or change in height will affect the way the Exterior Door sits and functions. Take time to confirm the opening is square and that the floor is perfectly level. Use shims and structural fasteners long enough to anchor into solid material.
Before you set the door frame, think about how the bottom of the frame will deal with moisture. Even without a threshold, the bottom rail still needs protection. Most suppliers offer composite sills or water-resistant frame components. These help reduce the risk of rot, especially in climates with frequent rain.
If the project allows, integrate a shallow recess or a slight slope on the exterior side. Even a minimal grade helps direct water away from the door.
Choosing the Right Exterior Door
Doors designed for exterior use already include weather-resistant skins, insulation, and reinforced rails. When installing without a threshold, those features matter even more. A high-quality Exterior Door with a solid bottom rail stands up better to moisture and daily wear.
If you work with a supplier that provides customizable frames, look for options that include composite bottom jambs, adjustable weatherstrips, and sill-compatible seals. Even without a full threshold, these components help tighten the seal at the bottom of the door.
For projects that expect heavy foot traffic or exposure to wind-driven rain, consider pairing the door with an automatic drop seal. This creates a tight closure when the door is shut and retracts when it opens.
Building a Weather-Resistant Base
Without a threshold, the key is building a reliable moisture barrier under the door. Start by applying a waterproof membrane across the base of the opening. Extend the membrane a few inches up the interior and exterior sides. This creates a continuous pan that keeps water from settling under the frame.
Add a bead of exterior-grade sealant along the bottom of the frame before placing it in the opening. Press the frame into the sealant so it spreads evenly. Any gaps become points for water to gather, which leads to long-term damage.
Once the frame is secured, run a second line of sealant along the interior side to block air infiltration. Use a product that remains flexible over time. Temperature changes around Exterior Doors are constant, and rigid sealants tend to crack.
Installing the Door Frame
Set the frame in place and check for plumb on both sides. A door installed without a threshold is less forgiving. Even a slight misalignment can lead to scraping, uneven clearance, or a poor seal at the bottom.
Use shims at the hinge side first. Once that side is solid, secure it with screws long enough to reach the framing studs. Move to the latch side and repeat the process. Before closing the wall insulation, open and close the door several times. Watch how the bottom rail meets the floor. You want a consistent gap and no points of friction.
If the floor is slightly uneven, you may need a door with an adjustable bottom sweep. Many manufacturers provide sweeps that can rise or fall a few millimeters. This helps maintain a full seal while keeping the movement smooth.
Achieving a Reliable Seal
Since there is no threshold, the seal at the bottom of the Exterior Door becomes the most important detail. Use a high-quality bottom sweep paired with a continuous exterior weatherstrip. Make sure the sweep makes full contact with the floor without dragging.
For higher exposure zones, an automatic drop seal is a smart upgrade. It engages only when the door is closed and lifts as soon as you open the door. This solves the common problem of sweeps wearing out from floor friction.
Check the interior side as well. A small draft at the bottom may not seem like much, but over time it increases heating and cooling costs. Adding an interior sill plate seal, even a thin one, helps maintain comfort and reduces air loss.
Final Testing and Maintenance
Once the installation is complete, run water along the exterior edge to see how it reacts. The goal is to watch the water pull away from the door, not toward it. Look for any leaks or dark spots under the frame. If you see moisture, add sealant or adjust the sweep until the seal improves.
Schedule regular maintenance. Sweeps compress over time. Weatherstrips age. The absence of a threshold means the bottom of the door takes more responsibility for performance. A quick annual check keeps the system reliable.
Closing Thoughts
Installing an Exterior Door without a threshold calls for accuracy and the right set of materials. With careful planning, solid waterproofing, and high-quality door components, you can achieve a clean, barrier-free entry that still performs well in everyday conditions. The key is treating the base of the opening with the same attention you give the rest of the frame. When done correctly, the result is a seamless transition that stays strong for years.
Article post by: pvc board – GSTARBOARD
